Quick Pickles by Charlie Monlouis-Anderle

I don’t know about y’all, but when I’m home all day I’m having snacks on snacks. Keeping a continuous stash of pickles in the fridge has me munching on vegetables throughout the day, and they’re an easy-to-sanitize-and-deliver treat for my pregnant doula clients or for the recovering tastebuds of friends who are sick with COVID. I use this recipe to clear out lonely vegetables from the produce drawer of my fridge before my next grocery run and ensure there’s no waste. They are “quick” because they use vinegar instead of salt brine and don’t undergo any fermentation, so they’re ready to start snacking on within a day.
— Charlie Monlouis-Anderle
Screen Shot 2020-06-03 at 6.42.22 PM.png

Note on measurements: I typically don’t measure ingredients when I cook and find that ratios are more helpful for scaling up and scaling down. For this recipe, as long as you stick to a 1:2 ratio of water to vinegar, you can take the freedom to explore different flavorings and vegetable combinations in any quantity. Just remember that you will need around ⅓ of your pickling jars’ volume in liquid--your vegetables will take up the rest of the container. Fill your measuring container with water and dump it in a pot, then fill it twice with vinegar and add it in! If you get stuck with leftover pickling liquid, save it in the fridge for the next batch. I even reuse my pickling liquid between batches while it’s still fresh. 

For 2 quart size jars of pickles:

Screen Shot 2020-06-03 at 6.42.27 PM.png

INGREDIENTS:

  • 1 cup water

  • 2 cups unfiltered apple cider vinegar

  • 10 whole garlic cloves, peeled

  • A small knuckle of ginger, sliced thinly

  • 1 lemon or orange sliced thinly with the rind

  • 1 shallot, sliced thinly

  • Your pick of spices: bay leaves, whole peppercorn, fennel seeds, coriander seeds, nigella, cardamom pods, cinnamon sticks, chile flakes, the possibilities are endless...

  • Optional: 1 hot pepper (I use scotch bonnet, serrano, or jalapeño), sliced thin

  • Enough vegetables to pack densely into your jars: try cucumbers, carrots, okra, beets, radishes, turnips, celery, snap peas, green beans, peppers, cabbage, bok choy, tomatoes, chayote, and on and on. For this recipe, I would recommend staying clear of starchy vegetables that require more cooking time to be easily digested, like potatoes or squash.

RECIPE:

  1. Bring water and vinegar to a boil.

  2. Meanwhile, clean your vegetables with a good rinse and scrub and remove any parts you don’t wish to eat.

  3. Cut veg into spears, rounds, or queer little multifaceted gems or, keep whole. You choose!

  4. Optional: blanche veg. I give okra a quick 30 second dip in salty boiling water to break down some of the tougher fibers. Mushrooms get the same treatment. Anything that is safe and yummy to eat raw, I pickle without blanching to preserve as much crunch as possible.

  5. Pack your jars full of veg. Squeeze in as much as you can!

  6. Tuck in your spices, garlic, ginger, shallots, peppers and rinds, nestling them around your vegetables to get an even distribution of flavor throughout the jar.

  7. Fill with hot pickling liquid.

  8. Optional: sterilize and seal your jars. If you’re not planning to eat your pickles within the next couple weeks, make sure to give your jars in boiling water first, then fill them right up to the neck of the jar and put metal ring lid on while they’re still hot. As they cool, the internal pressure should decrease, creating a vacuum and sealing your lids. You can test them by pressing a lid with your thumb and checking that it does not bounce back.

Screen Shot 2020-06-03 at 6.42.31 PM.png

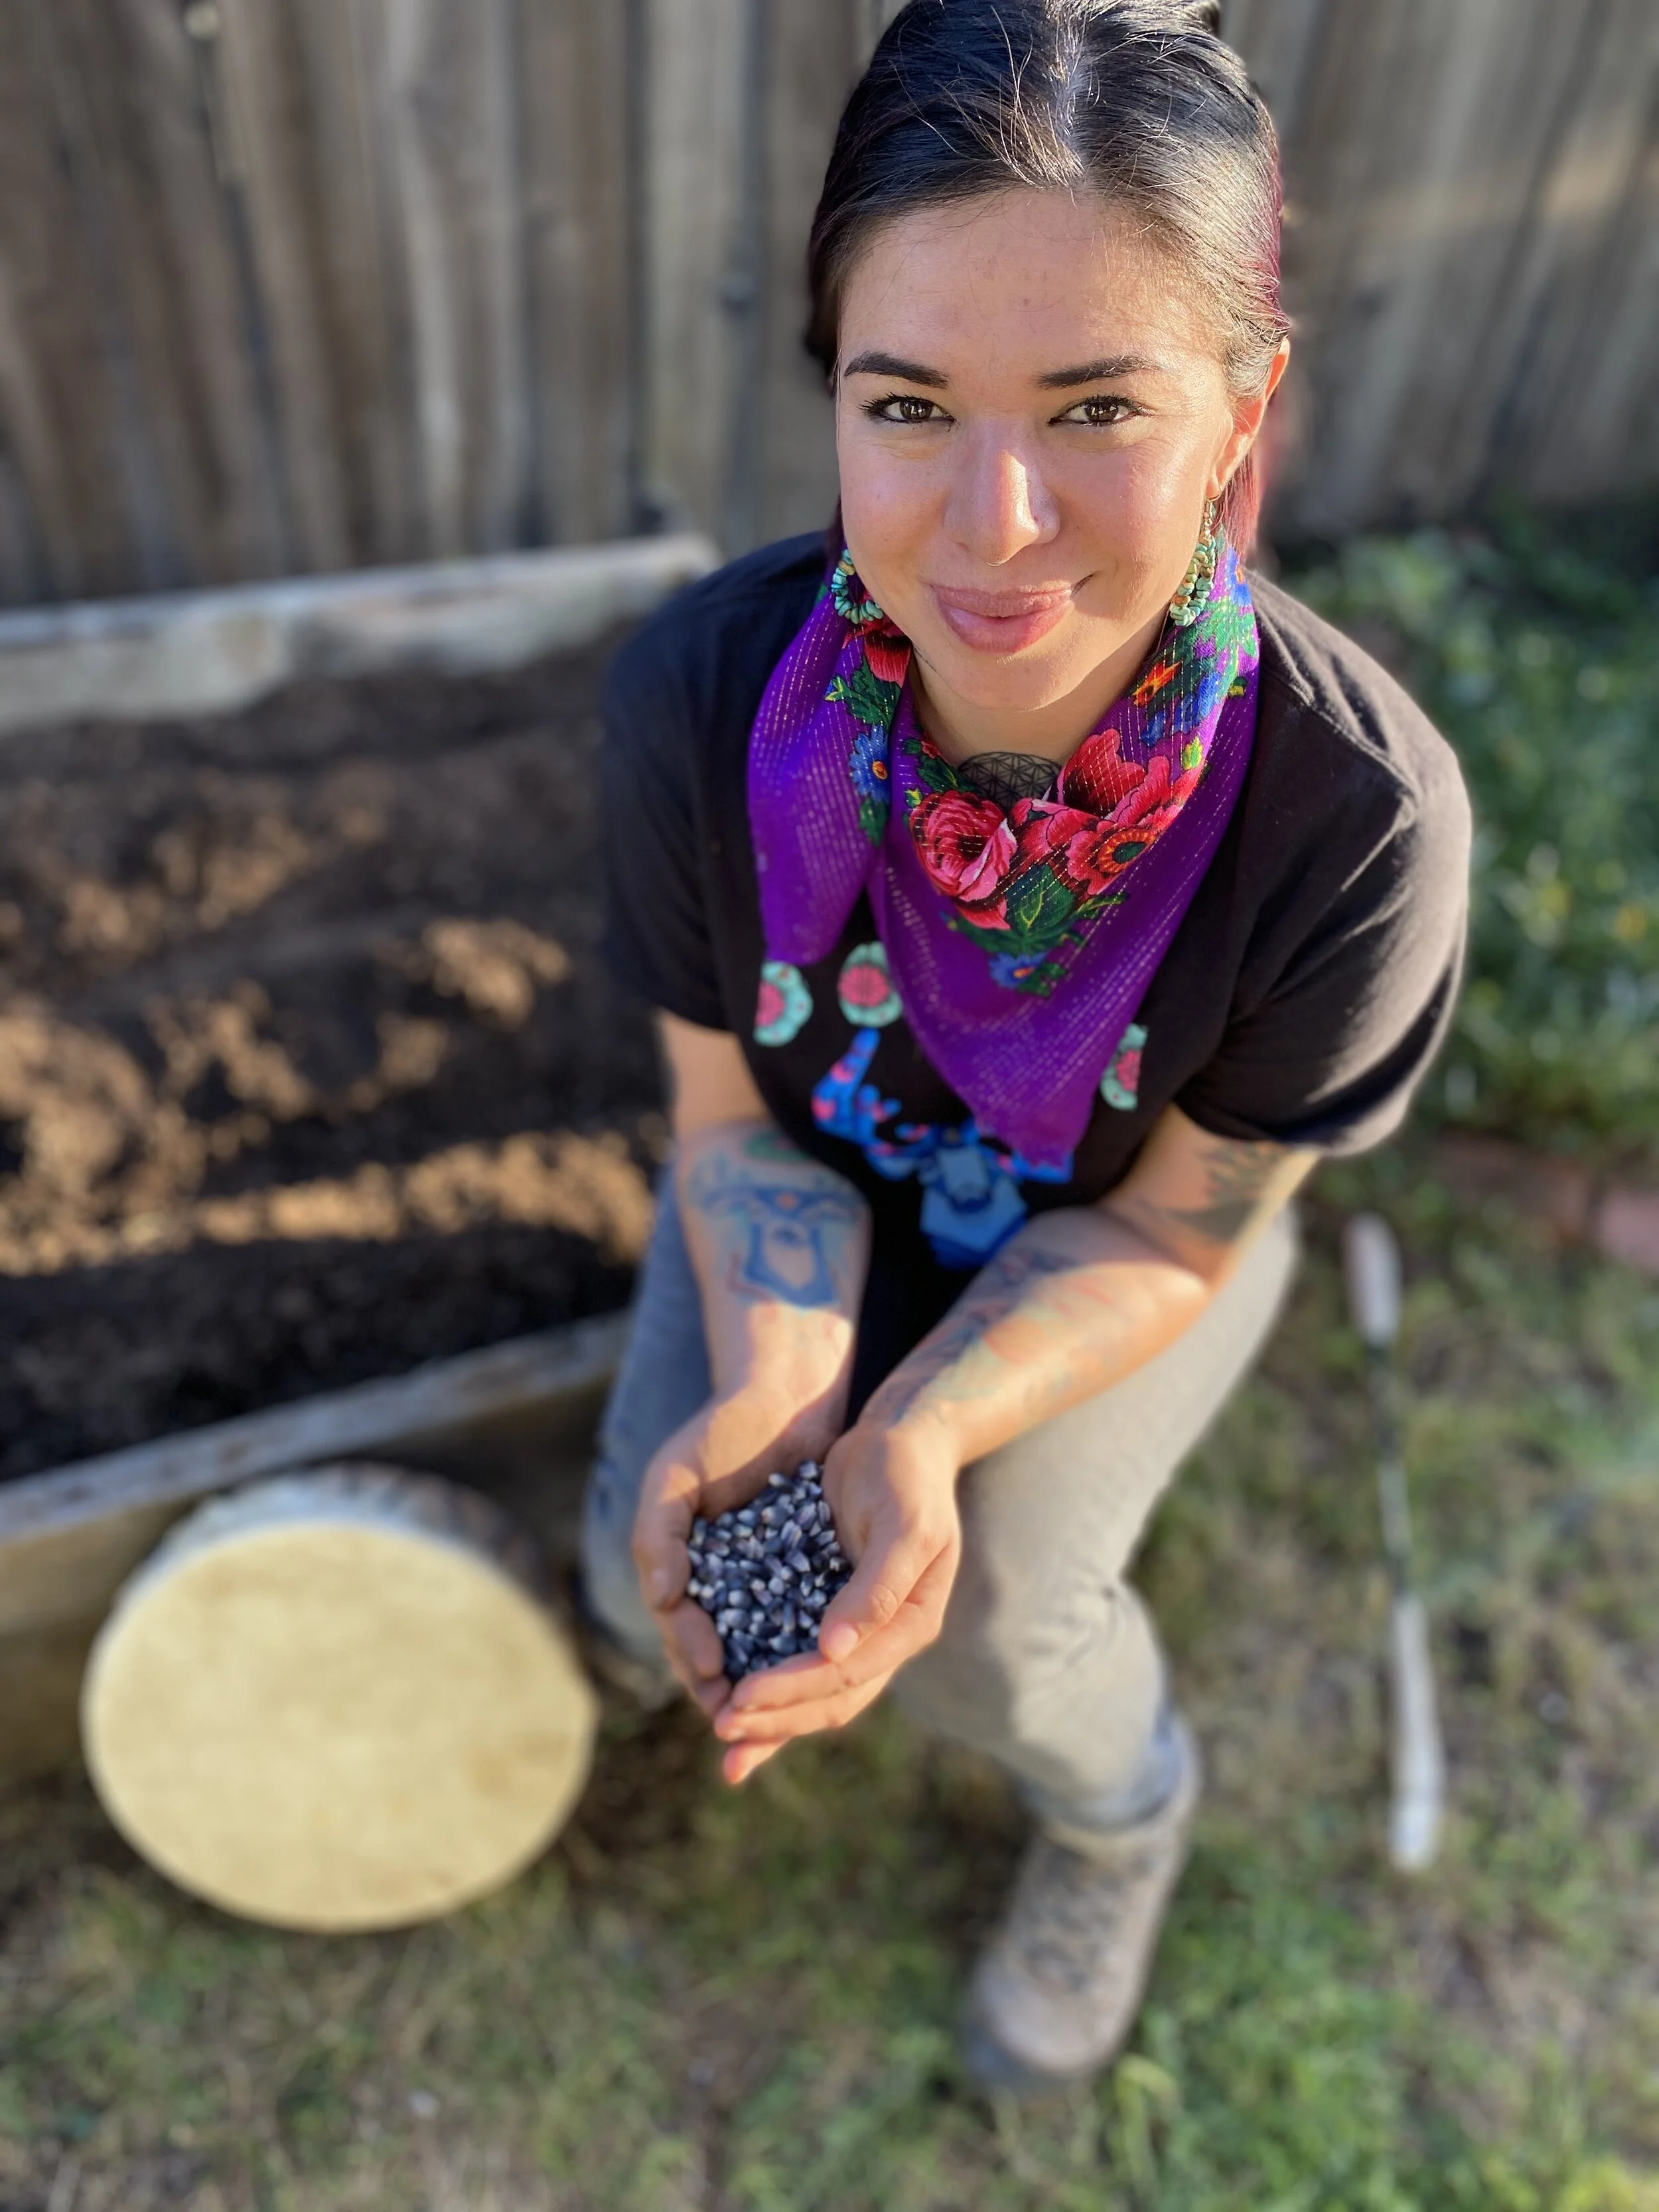
Atole by Sewa Yuli (@mi_xantico)

Atole is the embrace of the ancestors, it connects us to our origin and memory. This beautiful gift from creation represents love in all it’s nourishing forms. It is the warmth of Abuelitas hug and the gentle cariñito of a mother when your not feeling so good. Atole is perfect for all who need a little warmth in the heart and belly.
— Sewa Yuli, @mi_xantico

INGREDIENTS

  • 1 cup of roasted blue cornmeal 

  • 6 cups of Milk or desired alternative

  • Sugar/sweetener 

  • 3/4 cup of cacao powder

  • 2 cinnamon Sticks

RECIPE

  1. In a large saucepan, whisk milk into the masa flour and cacao powder little by little until completely mixed and free of lumps.

  2. Heat over medium heat, stirring constantly, until it just begins to thicken.

  3. Add cinnamon and sugar.

  4. Stir vigorously until sugar is dissolved, then bring to a boil, stirring constantly to keep it from becoming lumpy. 

  5. Add more milk if Atole becomes thicker than desired. 

IMG_2449.jpeg
IMG_3154.jpeg

Chile-buttermilk Marinated Chicken al Mattone with Labneh and Flatbreads

I’ll admit, the last month has been hard. I know I’m not alone in this, but that doesn’t change the fact that grief has made its way into my home and that the unknown of how our work will change, when we’ll be able to physically feel in community again, and the longing for lost routines doesn’t sometimes overwhelm. Uncertainty always leads to growth and new beginnings, I keep reminding myself. Spring has insisted on showing up and reminding us this. So has she ushered in the green and refreshing flavors of her season. As I often do, I’ve found solace in my kitchen, cooking with California produce. Xo
— @mollylevine
Molly Levine chef // maker // dreamer // schemer

Molly Levine
chef // maker // dreamer // schemer

Daydreaming for the past, for simpler times, has me reaching deep into archives of things I cooked when I was at Chez Panisse, like chicken al Mattone, and bringing them up to speed to the way I cook now. You may not be in California, more likely you are holed up in an apartment in New York, awaiting your turn for spring onions and the likes. I hope, however, this recipe shares with you a bit of California sunshine, in a way that you can reach. These easy components, like labneh and flatbreads, simply prepared beans, and a packed with flavor marinade (featuring my favorite ingredient: dried chiles), come together quickly for a well rounded meal. Substitutions are provided, flexibility encouraged, and as always, if it nourishes you mentally or physically, it’s working.  Xo Molly 

Queer Anga note: If you’re vegetarian, you can just leave out the chicken and enjoy the flatbreads, labneh and beans!

Screen Shot 2020-04-24 at 10.49.16 AM.png

INGREDIENTS

Labneh:

Screen Shot 2020-04-24 at 10.49.22 AM.png
  • 1 1/2 cups greek yogurt 

  • 1/2 lemon (zest and juice)

  • 1/4 tsp salt 

  • Cheesecloth 

  • Olive oil and sumac for drizzling later 

Chicken:

  • 4 bone in chicken thighs 

  • 1 cup buttermilk 

  • 2 dried guajillo chiles 

  • 2 dried chipotle chiles 

  • 1 meyer lemon (can sub 1 orange or other citrus of choice)

  • salt

  • Spring onions (optional) 

Flatbreads:

Screen Shot 2020-04-24 at 10.51.01 AM.png
  • 1 cup AP flour (+ more for dusting)

  • 1/2 cup semolina flour 

  • 1/4 tsp baking powder

  • 1/2 tsp salt

  • 1/2 cup buttermilk 

  • 1/4 cup yogurt 

  • Olive oil for cooking

Beans (optional, recommended side)

  • 3/4 cup dry beans (I’m using Rancho Gordo scarlet runner beans)

  • 1 bay leaf

  • 1 dried chile (recommend Anaheim or chipotle)

  • 1/4 cup olive oil 

Screen Shot 2020-04-24 at 10.50.49 AM.png

RECIPE

Don't be intimidated by the multiple components, I promise they are all easy and quick!

Evening before:

  1. The evening before you plan you to cook this Mediterranean meal soak your beans in cold water.

  2. Cover beans with water so that the water comes up double the height of the beans, and leave to soak overnight

Morning of: (about thirty minutes of prep)

  1. In the morning, refresh the beans by draining the water and replacing with new cold water to continue soaking. Gather your ingredients for labneh, chicken, and flatbreads 

  2. Start with the chiles. Deseed, de-stem, and cover with boiling water in a heat proof container to rehydrate them 

  3. Set a container with cheese cloth for the Labneh. You can either: fold a piece of cheese cloth and nestle it over the top of a quart container so the cheese cloth drapes in to create a “cup” and secure with a rubber band to hold in place. OR lay cheesecloth over a fine mesh strainer if you have one large enough and set over a bowl. 

  4. Mix the greek yogurt with lemon zest, juice and salt with a spoon or rubber spatula. Transfer to the cheesecloth to strain for at least 5 hours. Cover with a loose piece of plastic wrap, place in the fridge to strain. The 1 ½ cups yogurt will yield about ¾ cup of labneh, if more is desired simply increase quantity to strain. 

  5. Next, make the flatbread dough. Start by combining the flours (if you do not have semolina, it is ok to sub that ½  cup for more AP). Add in the salt and baking powder and stir with a whisk or fork to combine. Note that this recipe makes about 5 flatbreads. If you are feeding more people or have very gluten-inclined eaters, by all means double this recipe.

  6. Add the buttermilk and yogurt , start by using a wooden spoon to bring together. When the dough has begun to form a singular mass, switch to your hands and knead to fully combine but do not overwork. If the dough feels too dry you can add a bit more buttermilk. It should feel slightly stickier than pie dough, but of similar consistency. 

  7. Cover in a bowl and set in the fridge. This dough needs at least 2 hours in the fridge, but can sit for up to two days.

  8. Finally, prep the chicken. For the marinade: remove the chiles from the water, they should be soft and blendable. Place the chiles in a blender with 1 cup buttermilk and the zest and juice of one meyer lemon (or sub 1 orange, lime, or regular lemon if you do not have a meyer!)

  9. Blend until mostly smooth, I do like to see flecks of the chiles. 

  10. De-bone the chicken thighs if you have bone in. Save the bones for soup later in the week or freeze them. Even though the bones are removed here, generally bone-in thighs have better fat and flavor content than boneless. Bones can keep in the freezer for stocks or soup for up to 6 months. 

  11. Season the thighs generously with salt and let sit for 3-5 minutes to absorb the seasoning. Transfer the chicken to a bowl and pour the marinade over. Flip them around a couple of times to make sure they are fully coated. Add this baby to the fridge for later and go enjoy your day.

In the evening:

  1. Cook the beans first. They will take the longest- the time will depend on what kind of bean you chose but I would allow for at least an hour, they can always sit in their warm liquid if they finish early. Strain the beans from their soaking water and place in a pot with fresh water, bay leaf, a dried chile, and about ¼ cup of olive oil. season with salt. Simmer until tender. If the water gets too low you can top it off with a bit more.

  2. About an hour before you plan to eat, remove the chicken and the dough from the fridge to temp. Preheat oven to 400 degrees. Remove the chicken from marinade. Some will stick to the chicken, this is good, don't worry about getting all of the buttermilk off. Rest on a plate until ready to cook. 

  3. Clean up the spring onions if you are planning to serve them with your meal. Trim off any gross outers, and divide in halves or quarters long ways. Lay on a sheet tray and drizzle generously with olive oil and season with salt. 

  4. Divide your flatbreads into 4-6 even pieces depending what size you want them to be. Roll each piece into a ball for cohesion. Don't worry about making them perfect, it's  ok for these to turn out irregular. Dust your surface with flour and begin to roll out the first piece. Go as thin as you can, dusting with more flour if they start to stick. When the flatbread is rolled  out, puncture a few times with a fork. Repeat with all dough balls. 

  5. Just before cooking off the flatbreads, place the sheet tray of onions in the oven to cook  for about 15 minutes. I like mine pretty crispy, but a good golden caramelization will be the sweet flavor to complement perfectly 

  6. Cook the flatbreads: heat a cast iron until just before smoking point. Drizzle with a little olive oil and wipe even with a paper towel as if you were oiling a cake pan. Lay down the first flatbread. When you see it start to pull away from the bottom, that's a good sign that it's ready to flip. These don’t take long to cook, just about 1 minute on each side, until there is no visible raw flour and it is speckled brown. Repeat with each flatbread. To keep warm, cover with a cloth. 

  7. Cook the chicken: Heat a large cast iron or oven proof skillet. Wrap a second, smaller cast iron in tin foil. If you do not have a smaller cast iron, you can quite literally wrap a brick in foil. Go head and heat this on a second burner. When both cast irons are hot, drizzle 2 tablespoons of olive oil into the larger cast iron and place the thighs skin side down. Drizzle a bit more olive oil on top of the chicken and place the second, now hot, cast iron or brick on top to weigh them down. This is cooking “mattone” style, or “under a brick”. Turn down to medium high heat. Try not to fuss with it too much! After about 5 minutes, lift the top cast iron and using a pair of tongs lift the thighs to check the skin. They might stick a little at first but wiggle them free and take a peak. The skin should be on its way to a deep brown and crispy. If it's not quite there yet, return the smaller cast iron to the top and check again in a few minutes. If it is, go ahead and flip them. Since the top cast iron was hot, they should only need about 3 minutes on the other side to finish cooking. If you are at all concerned about their “doneness” place skin side down in the 400 degree oven for 3-5 minutes to finish cooking. 

  8. While the chicken cooks, marinate the beans by draining off ¾ of their liquid, adding a bit more olive oil and tossing with fresh herbs (cilantro and mint are best here). Set your labneh in a bowl. Notice it has become a thick, almost cream cheese consistency.. Drizzle with good  olive oil  and sprinkle a bit of sumac to serve. 

  9. Remove the chicken from the pan. I recommend serving on top of a bed of those crispy, caramelized spring onions! 

Enjoy! You can slice the chicken and spread the labneh on the flatbread with the onions to make a sandwich or just enjoy all components and use the flatbreads to sop it all up!

Aloo Gobi Masala IndiSoul Recipe

We’ve come up with “indisoul” as the best way to describe us & the food we love! The dish that we love the most that we learned from Indian is Aloo Gobi (potato & cauliflower (subzi/sabji)). It’s a very versatile dish that can we switched between several ingredients, we even add black eyed peas when we have them on deck.
— Experience Relish | FoodLab Detroit
20190822_183002.jpg
Resized_20200305_150108001.jpeg

INGREDIENTS

  • 1   cup potatoes

  • 2   cups cauliflower

  • 1   medium red onion, chopped finely

  • 2   medium tomatoes or 2 TB tomato paste

  • 2 TB ginger minced

  • 2 TB garlic minced 

  • 1 green chili ( whole or minced)

  • 4 TB cilantro , chopped

  • Salt as needed

  • 2TB oil

  • ½ cup water

SOUL (If you want to spice it up!)

  • ½ cup cooked black eyed peas

  • 1 cup collard greens (chiffonade) 
    (add when adding the spices in the preparation section)

SPICES

  • ½ t cumin seeds

  • ½ t brown mustard seeds

  • 1 t turmeric, ground

  • 1 t garam masala

  • ¾ t coriander powder

  • 1 t red chili powder

  • 1 t kasuri methi (dried fenugreek leaves, optional) 

PREPARATIONS:

  1. Chop cauliflower florets to 1 ½ in size, blanch & drain set aside

  2. Cube potatoes to ¾ by ¾ in, keep immersed in water until use

  3. Heat oil in pan, add cumin & mustard seeds, once sizzling add ginger, garlic, & chili saute for 30 seconds

  4. Add onions & stir fry until translucent 

  5. Drain potatoes & add to pan, stir fry for 2-3 mins, cover & cook on low to medium heat, keep stirring during this time

  6. Add cauliflower & stir fry for 3 mins, cover & cook on low to medium heat, keep stirring during this time

  7. Add spices & salt, mix well, add tomatoes, a little oil, & water. Tomatoes will release their juices, keep stirring as vegetables will try to stick, continuing cooking on low until the potatoes are tender. 

  8. Adjust for desired salt, & add methi & cilantro to finish

  9. Serve with rice, roti, wedge of lime, or any bread you desire. 

Woldy’s Mung Beans and Veggie Salad

This past month has been very challenging for all of us and we try to find ways to escape from it all. For me, I love to escape to my Lola’s (grandma) kitchen. Daydreaming being with her and in her kitchen brings me joy, comfort and a loving space. Every Friday, as a kid growing up, the one dish she always makes is a filpino bean stew called Monggo. It’s a hearty and decadent mung bean stew that hits all the right notes. I hope this recipe transports you to a safe and loving space. If you don’t have mung beans, that’s ok, you can swap it out for any beans you have.
— Xo @woldykusina; www.woldykusina.com
image0.jpeg

INGREDIENTS

  • 2 cups dried mung beans, soaked overnight

  • 1 celery stalk, washed and chopped

  • 2 small carrots, washed and chopped

  • 1 small onion, diced

  • 2 tablespoons fresh ginger, minced

  • 2 birds eye chili or 1 jalapeno, seeded and chopped

  • 2 garlic cloves, minced

  • 10 oz frozen spring peas

  • 4 cups low sodium vegetable stock

  • 1 - 14 oz can coconut milk

  • 2 tablespoons tamari 

  • 2 tablespoons olive oil

  • ¼ cup scallions, chopped

RECIPE

  1. In a heavy bottomed pot on medium heat, heat up olive oil.

  2. Saute onions and garlic for 3 minutes. Add celery, carrots, ginger and chili. Cook for 5 minutes.

  3. Add in mung beans, vegetable stock and coconut milk. Season with salt and pepper. Stir and bring to a boil.

  4. Reduce the heat to low and simmer the beans, covered for an hour. 

  5. When beans are tender and creamy, add in peas and tamari. Stir and season with salt and pepper.  

  6. Garnish with fresh scallions and enjoy!